There have been many valuable experiments in using hand embroidery to integrate electronic components onto fabric and to create conductive traces that complete electronic circuits. One inspiring example is Mika Satomi and Hannah Perner-Wilson’s embroidered speakers. Based on such experiments, we started looking into machine embroidery as a potential way for the ‘digital fabrication’ of precise and reproducible embroidered circuits at a non-industrial scale.
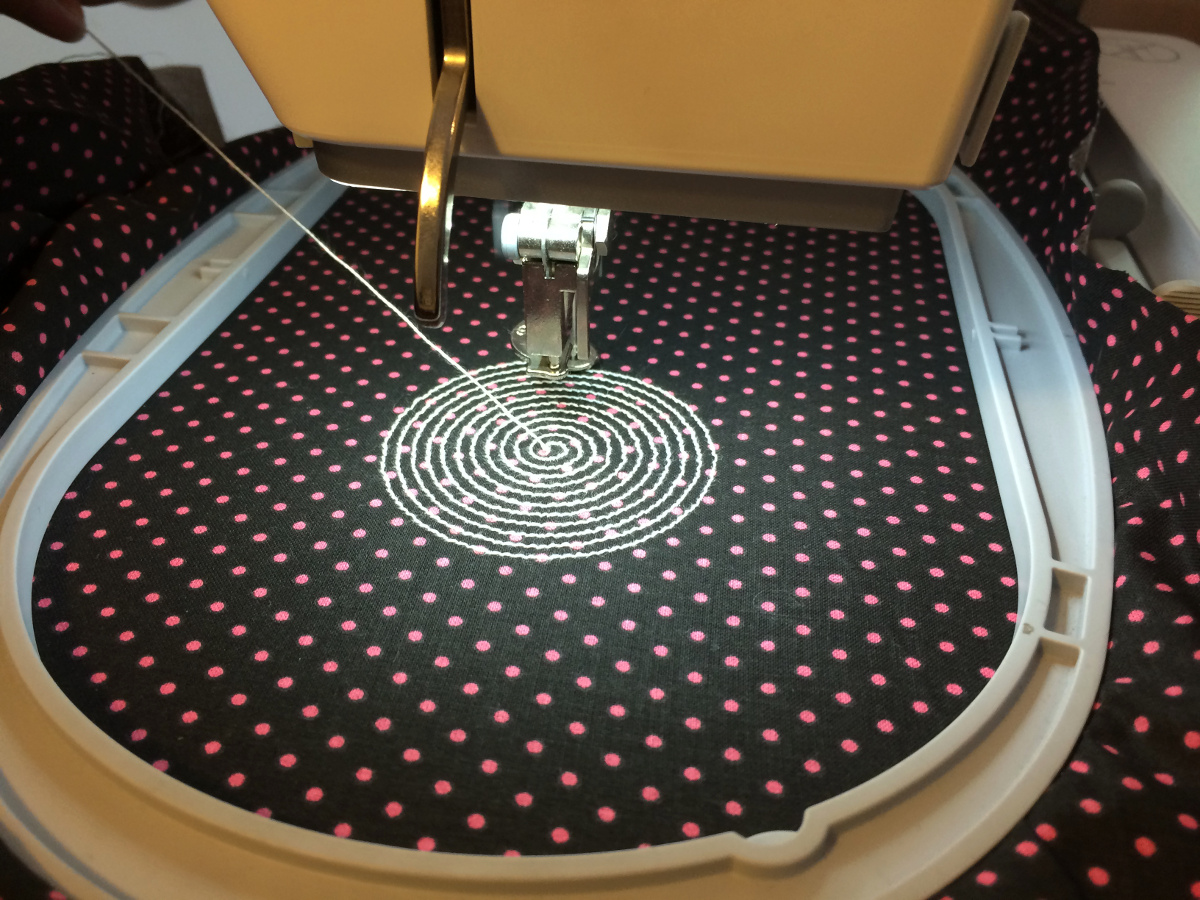
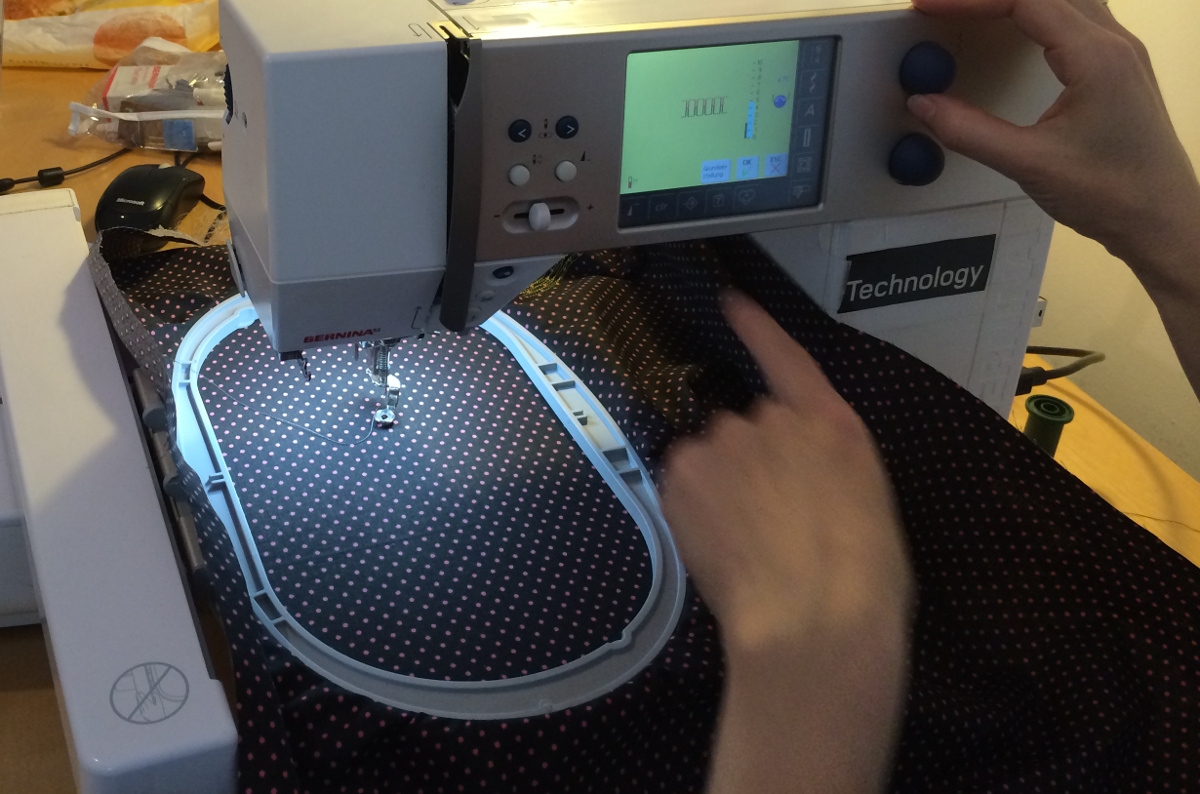
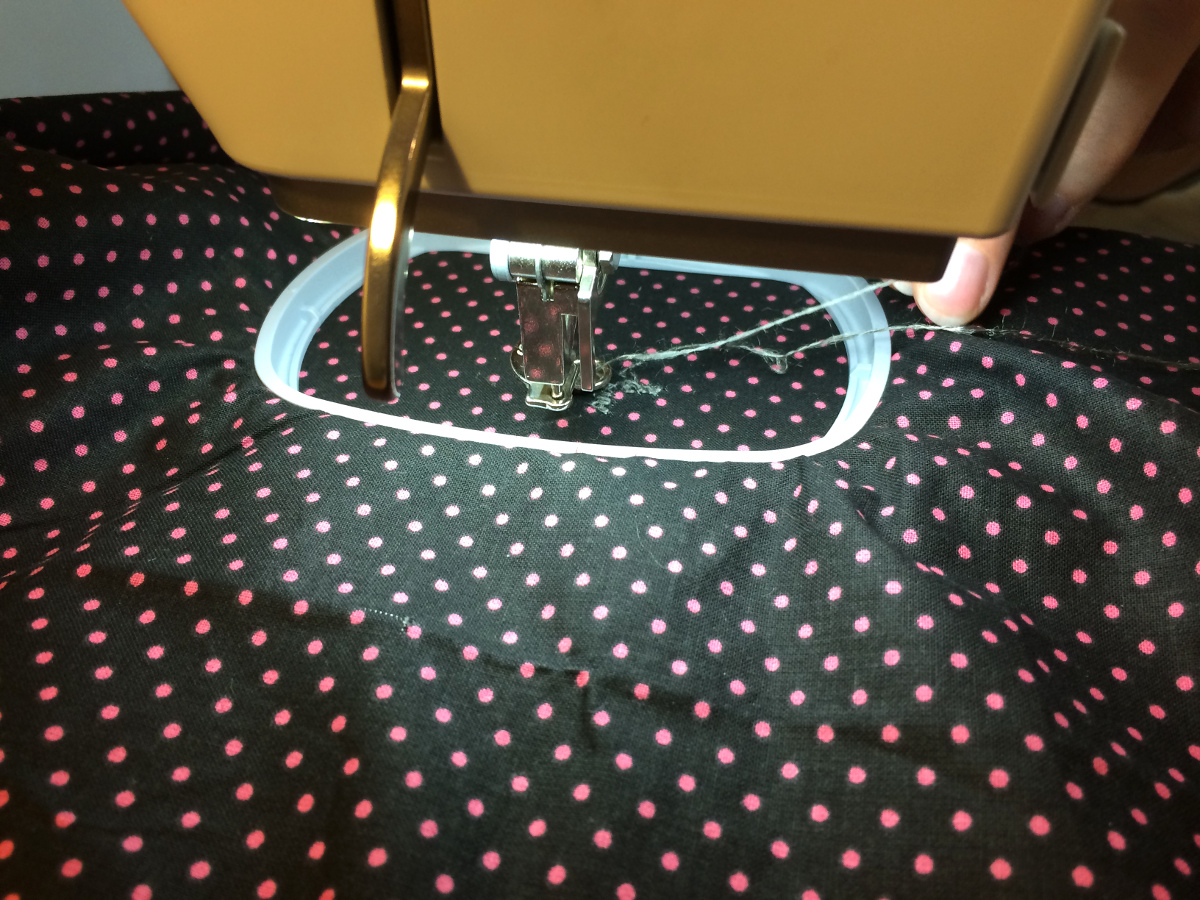
We started our research with this first experimentation together with Andrea Mayr-Stalder at her studio in Vienna. Andrea is a software developer that has found ways to integrate open source philosophy into machine embroidery in her project entitled Stitchcode. In this first experiment, we tried feeding Andrea’s Bernina 640 embroidery machine with various kinds of conductive and resistive threads. The goal was to find out how different material qualities and different machine settings contribute to electronic properties in basic machine embroidered electronics.
Setting up the machine
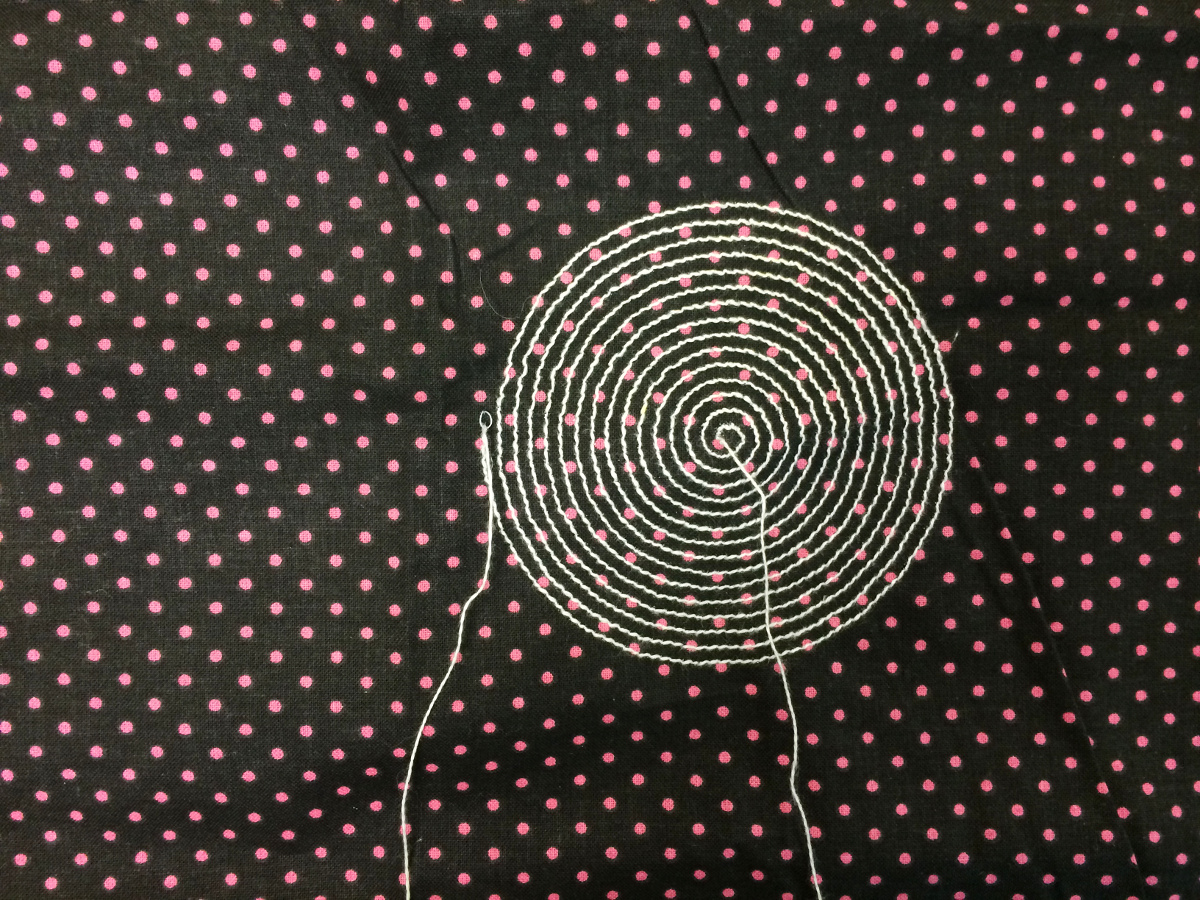
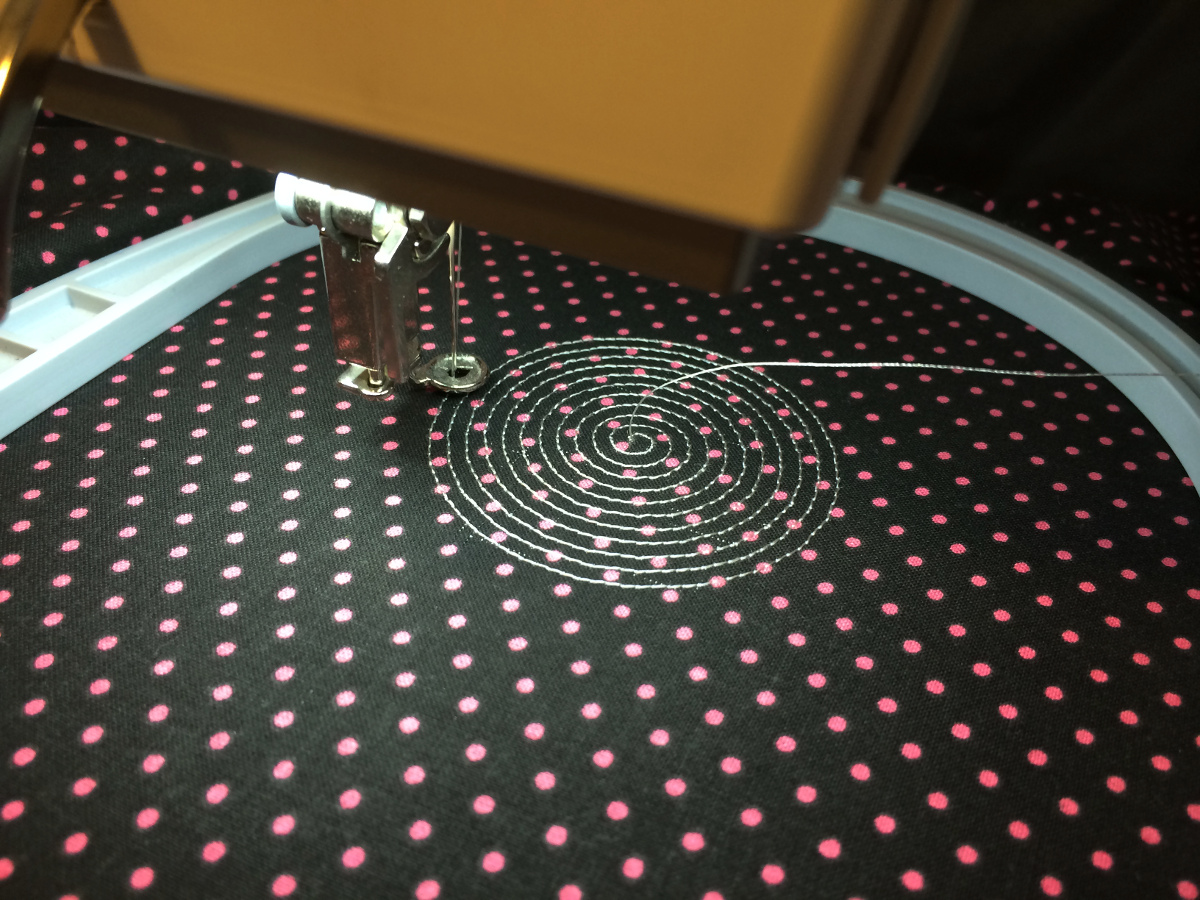
Testing LessEMF’s conductive yarn
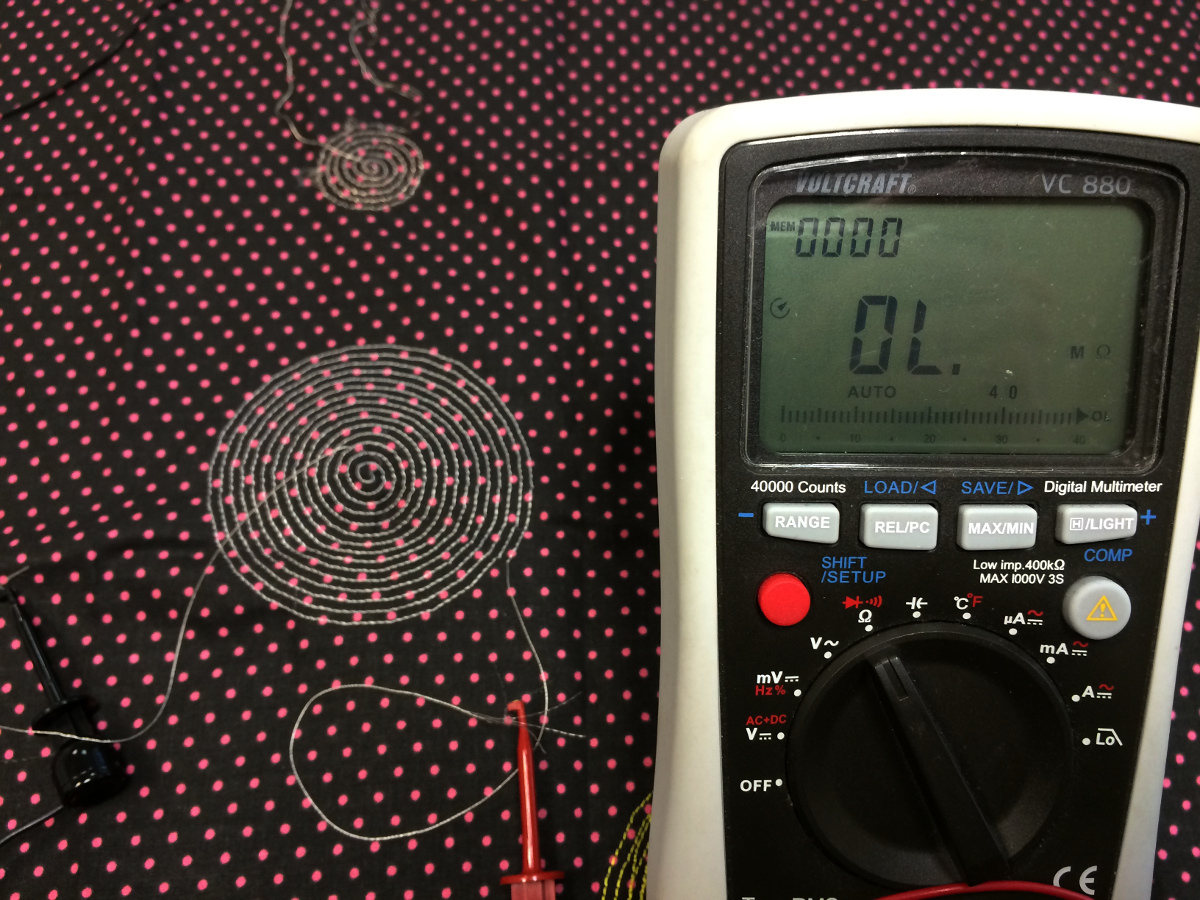
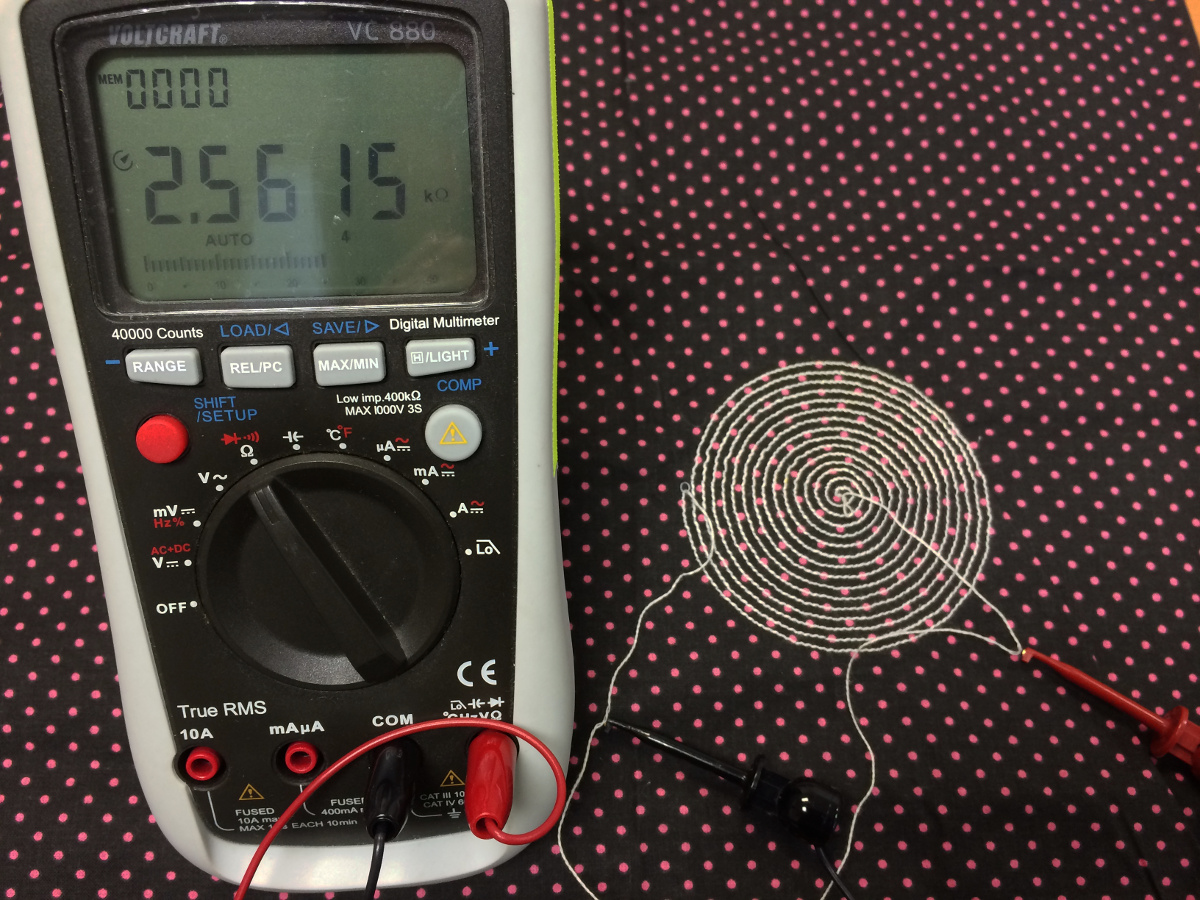
Another test with Karl Grimm’s tinted copper conductive thread

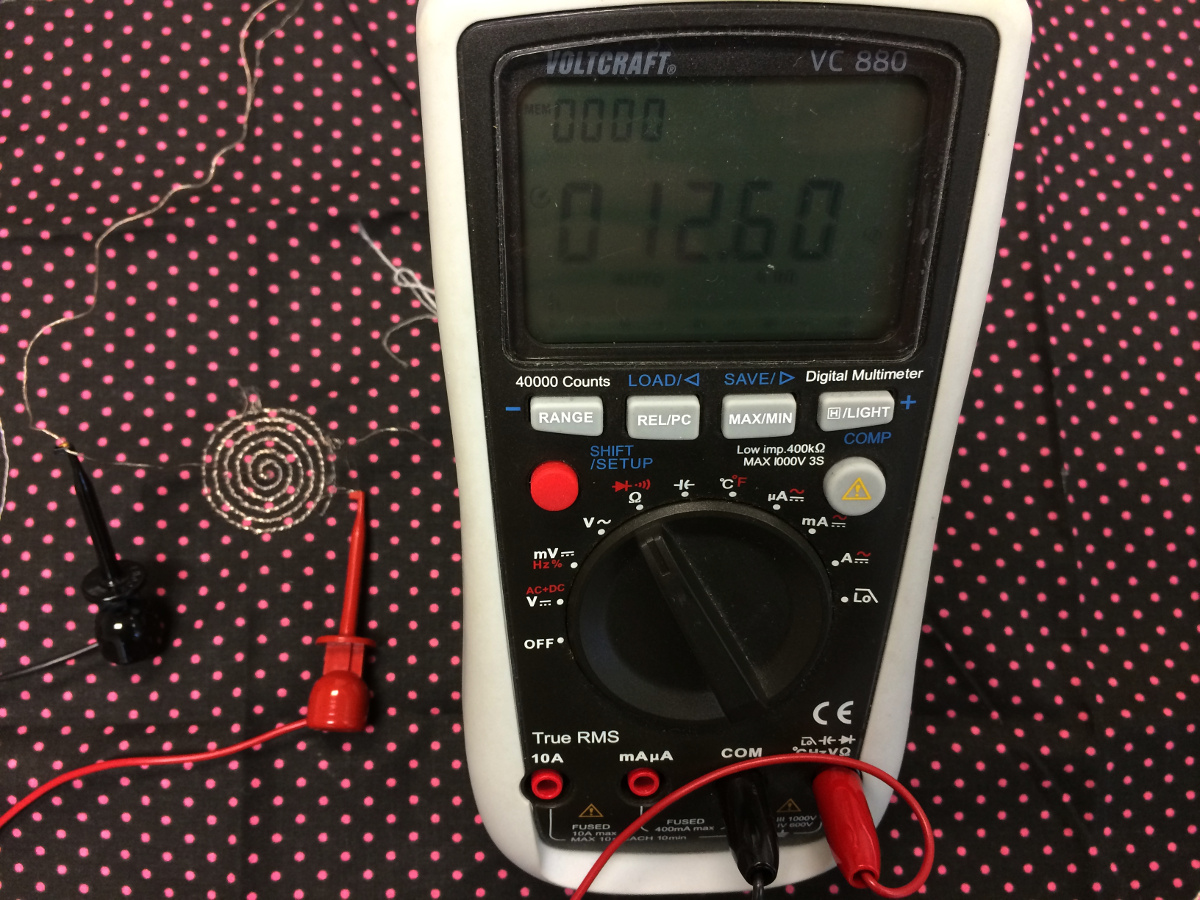
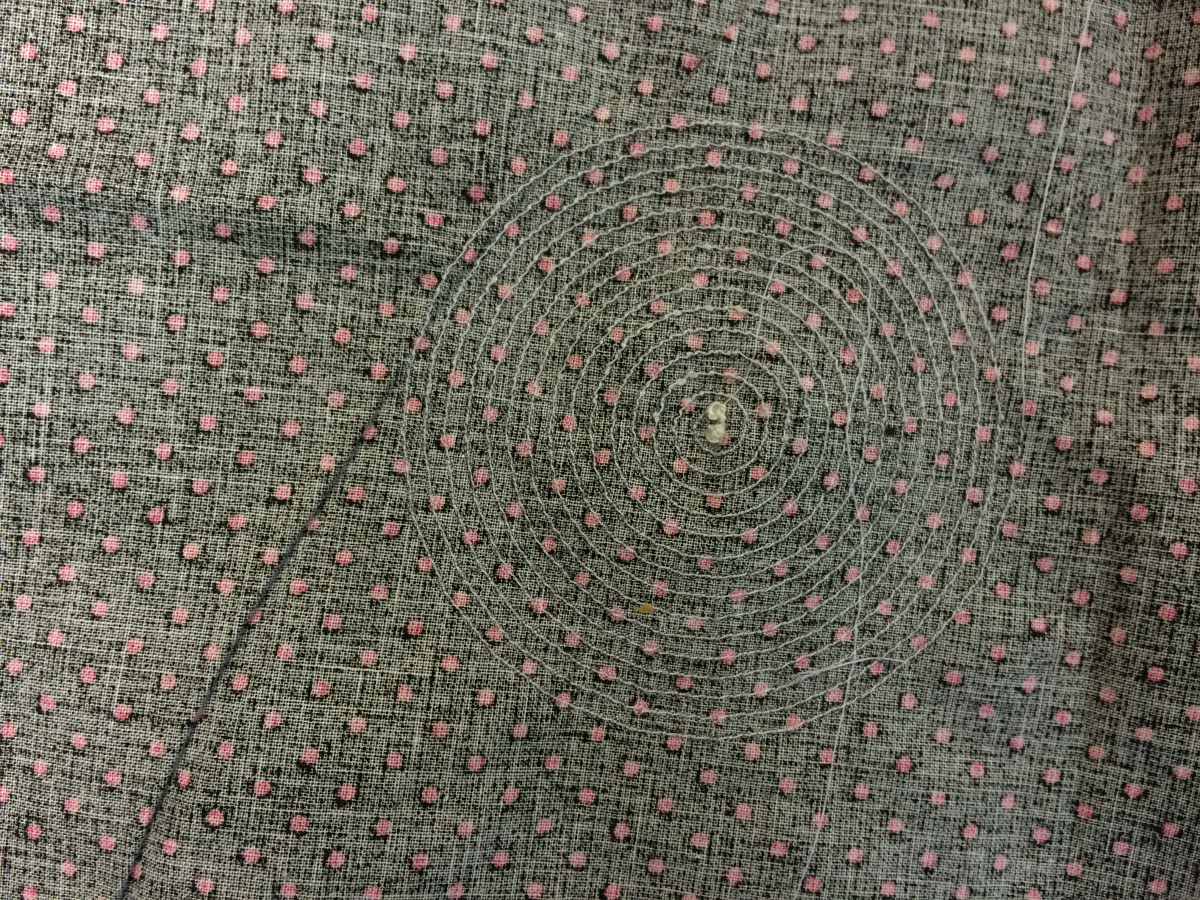
Testing Sparkfun’s thin conductive thread
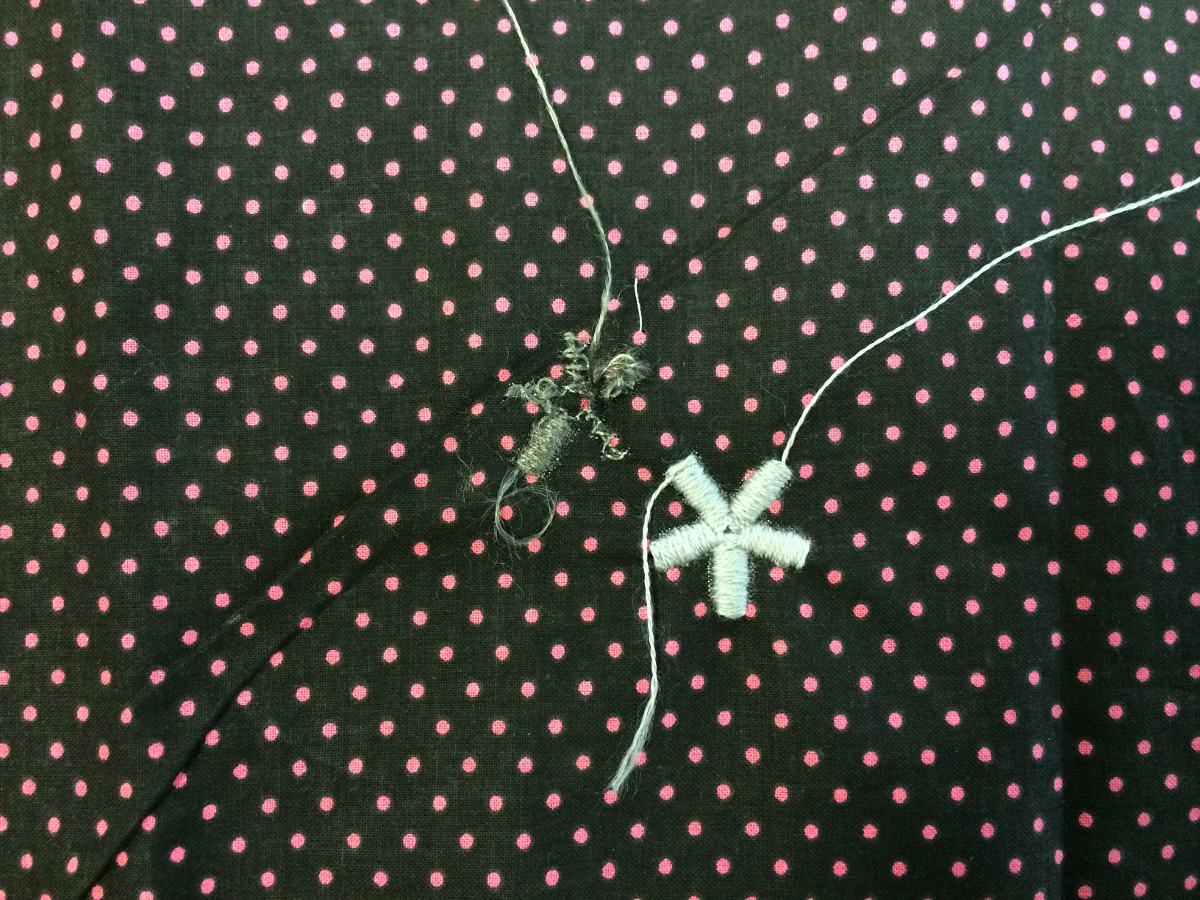
Custom spun yarn with cotton fibers around a stainless steel core